Thursday, October 10, 2013

Glow in the Dark Halloween Mug


I've been playing around with some glow in the dark acrylic paint and while wandering the aisles at a local Dollar Store I found a plain mug and knew it needed some glow in the dark flair! I decided to paint a face on it for Halloween, it looks quite a bit like Jack Skellington from Nightmare Before Christmas and I am just fine with that. I'm especially fine with the overall cost of this project (with coupons I spent about 4 dollars for all the supplies, and additional mugs would only cost an extra dollar each as there was plenty of paint left over.


To make your own glowing Halloween mug you will need:

1 plain mug in color of your choice
DecoArt Glow-in-the-Dark Paint
paintbrush
Extra acrylic paint colors of your choice for mixing (optional)


Start by making sure your mug is clean and dry. Next, mix your acrylic paint. I like the DecoArt glow in the dark paint because you can mix it with other colors in a 1:1 ratio. I wanted a really vibrant glow here, but decided to add in some glittery acrylic paint in gold for this mug. I've tried mixing in other solid colors and it still works, but dulls the glow a little. These glitter paints mix without dulling the glow in the dark paint, and they came in this sample pack for a dollar, great because I didn't need a lot of extra paints but it gives lots of color mixing options.


Next, I painted on my eyes. I did this first because I wanted to base the rest of my face on the size and distance of the eyes. After painting them on to my liking, I put in the nose holes and then the crooked grin.


I put on quite a bit of paint, so to aid in drying evenly I carefully laid the cup on its back, so the face I painted was pointed at the ceiling. If I hadn't done that the paint would have eventually pooled at the bottom of the eyes and possibly ran down the side of my mug. Another option would be to flip the cup every so often while drying so that it rests on the lip and then base of the mug.

*Note: While this paint works great on glass surfaces, I recommend hand washing to give your mug the longest life. I also recommend letting the paint sit out to dry for at least a week before you use and wash it at all.


Don't forget to follow The Craftinomicon on your favorite social media so you don't miss any other great projects!


Tuesday, October 8, 2013

Ghostly Cupcake Toppers: 2 Ways


Halloween is quickly approaching and soon there will be all kinds of sweets that could use some spooky touches to get in the spirit. Here are 2 ways to make easy cupcake toppers and add a little Halloween spirit to a party!

Topper number one:

For this cupcake topper you will need:

Toothpicks
paper or cardstock of your choice
scissors
pencil
non toxic glue
glow in the dark paint (optional)
small paint brush (optional)
ghost pattern (you can also draw ghosts free hand)


Start by drawing or tracing your ghost shapes onto your paper or cardstock. You will need 2 cutouts for each cupcake topper (a front and a back). Cut out all of your shapes and then sandwich your front and back pieces around a toothpick, glue together and allow to dry completely. If you like, add a spooky face with glow in the dark acrylic paint (you could also cut out the eye and mouth shapes with a mat knife or hole punch). Add these little guys to cakes, cupcakes, etc. for a little extra spooky decoration.


Topper number two:

For this topper you will need:

one package of small suckers (I used Dum Dums)
small squares of tissue paper (I used white, silver and gold)
scissors
string


Cut out squares of tissue paper to layer together for your ghosts. I like using the silver and gold as an underlay for white, but you can use any color you like. Place the sucker in the center of your tissue paper squares and tie them around your suckers with string. The sucker will be the ghosts head, and the stick can be placed directly into your cupcakes. You can add faces if you like, but they look cute without them as well. Not making any kind of cakes? This is a great way to dress up your Halloween candy to make it a little more festive for the Trick-or-Treaters.


How do you like to dress up your Halloween treats?

If spooky snacks aren't your thing, you can also check out this fast and easy tutorial for gravestone garden markers, and don't forget to follow The Craftinomicon on your favorite social media sites so you don't miss any upcoming projects.


Saturday, October 5, 2013

Easy Gravestone Garden Markers


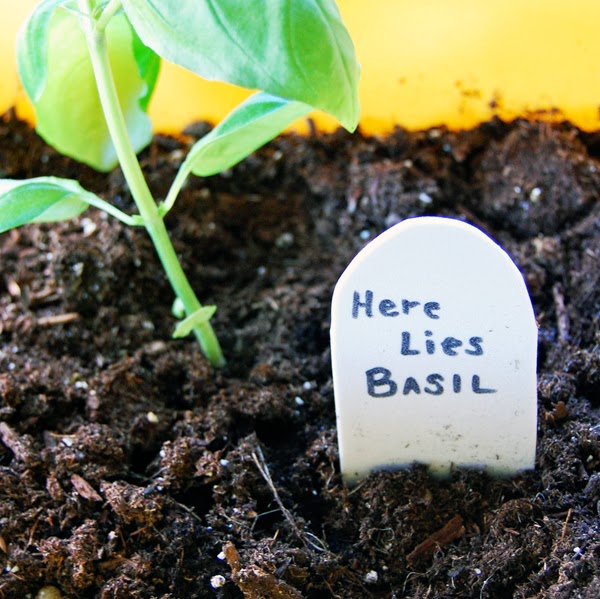
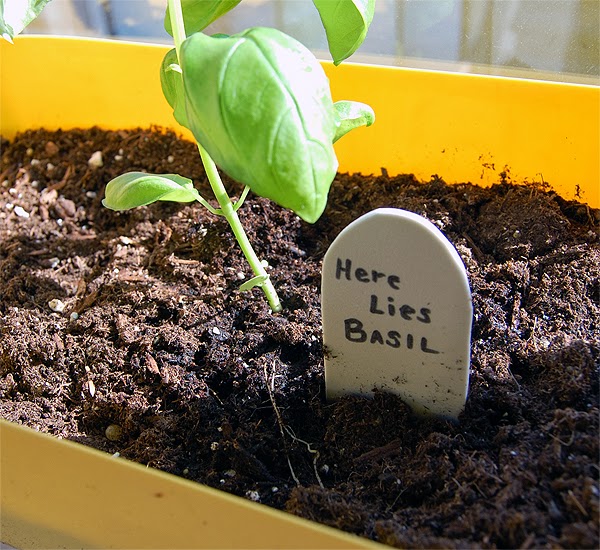
I like adding all kinds of kitschy stuff to my indoor windowsill garden. Since it happens to be October, I thought I'd get into he spirit with some easy gravestone garden markers. These are made with grey craft foam, and I didn't even use a pattern. I just rounded the corners on some rectangular pieces (I like the edges being a little less than smooth, it reminds me of cut stone).


To make some of these for your own indoor (or outdoor) garden you will need:

a sheet of craft foam (or a couple sheets if you are making a lot of these)
pair of scissors
permanent marker


Start by cutting out rectangles and then rounding the corners on one side. I made my rectangles quite long to make sure I had enough to bury near my plants without covering any writing. You could also do regular rectangles or other shapes as you see fit to make more variety and visual interest in your garden.


Next, use your permanent marker to label your garden markers. I still have a basil plant on its last legs in my window box, so sadly this epitaph will be true soon (poor Basil!). You could also label plants not yet growing, or if your garden is done for the year, make some of these to label where you might plant things next year (for an outdoor garden you could get fancy and make some larger gravestone garden markers with cement--draw your epitaphs in the cement with a stick!).


This is a cute and quick craft you can do in just a few minutes and it adds a bit of whimsy to your fall garden :)

Happy October! :)