Showing posts with label garden marker. Show all posts

Tuesday, March 25, 2014

7 Great Crafts for Spring


Spring is finally here (even though it doesn't quite feel like it everywhere). Get yourself in the spirit either way by making some of these cute Spring crafts. :)


Make some paper flowers. No matter what flower is your fave, you can find a paper variety to whip up on a weekend.


If gardening is your thing, these fabric covered flower pots are sure to brighten up your space. I love them as part of my tiny windowsill garden.


I saw these adorable bees over on The Experimental Home. Use your leftover plastic Easter eggs to whip up a hive full of them :)


These dinosaur garden markers were one of my favorite garden projects ever. They add whimsy and color to your garden while you are waiting for everything to sprout!


April showers bring May flowers, so you might as well join in the fun with a rain cloud brooch. If storms are more your style change it up with a cloud + lightning brooch instead.
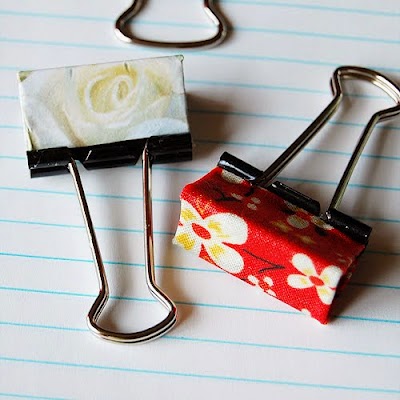

Don't forget to brighten up your office with some candy colored binder clips. Some clips, glue and scraps of paper or fabric are all you need!

Take a few minutes and make some bright Spring stationery! These cards are super easy and will brighten anyone's day when they open the mail.

What are your favorite Spring crafts?


Saturday, October 5, 2013

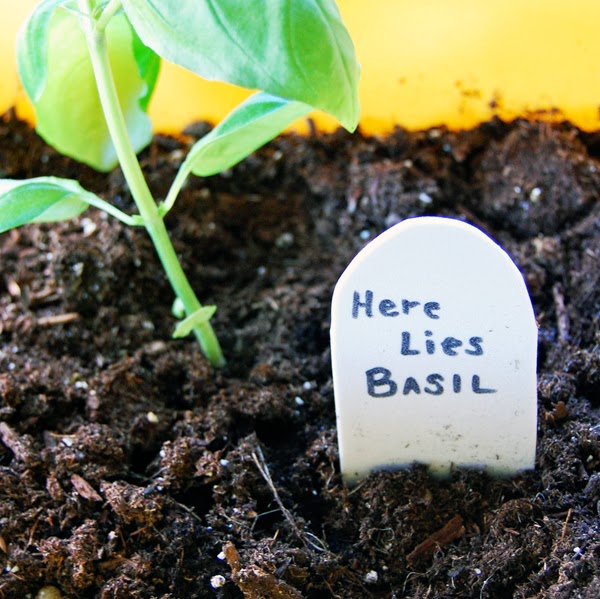
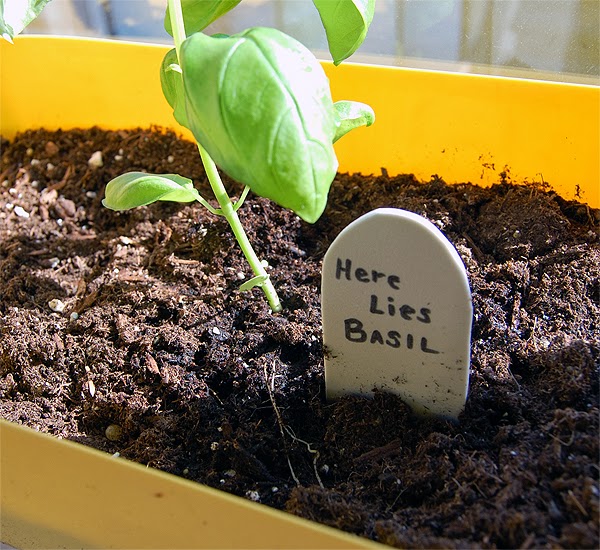
Easy Gravestone Garden Markers


I like adding all kinds of kitschy stuff to my indoor windowsill garden. Since it happens to be October, I thought I'd get into he spirit with some easy gravestone garden markers. These are made with grey craft foam, and I didn't even use a pattern. I just rounded the corners on some rectangular pieces (I like the edges being a little less than smooth, it reminds me of cut stone).


To make some of these for your own indoor (or outdoor) garden you will need:

a sheet of craft foam (or a couple sheets if you are making a lot of these)
pair of scissors
permanent marker


Start by cutting out rectangles and then rounding the corners on one side. I made my rectangles quite long to make sure I had enough to bury near my plants without covering any writing. You could also do regular rectangles or other shapes as you see fit to make more variety and visual interest in your garden.


Next, use your permanent marker to label your garden markers. I still have a basil plant on its last legs in my window box, so sadly this epitaph will be true soon (poor Basil!). You could also label plants not yet growing, or if your garden is done for the year, make some of these to label where you might plant things next year (for an outdoor garden you could get fancy and make some larger gravestone garden markers with cement--draw your epitaphs in the cement with a stick!).


This is a cute and quick craft you can do in just a few minutes and it adds a bit of whimsy to your fall garden :)

Happy October! :)


Tuesday, May 8, 2012

Dinosaur Garden Markers!


I always peruse the toy section of my local dollar store (you never know when you'll find something cute to send the nieces, right?). This time around, with garden crafts on the brain, I saw these little plastic dinosaurs and was inspired! They make great little garden markers for your plants, and add some whimsy to your garden. In addition, they work well with small potted plants and larger garden plots alike.

To make my dinosaur garden markers all I needed was:

A package of plastic toy dinosaurs ($1/pack of 8)
A permanent marker

Simply write the name of your plants on the dinosaur with permanent marker and allow to dry completely before touching. Place in your pot or in a garden row, and have a cute little dinosaur remind you what you've got sprouting :)